Manually Creating a GoGuardian Classroom and Enrolling Students by Code
Create a Classroom in GoGuardian
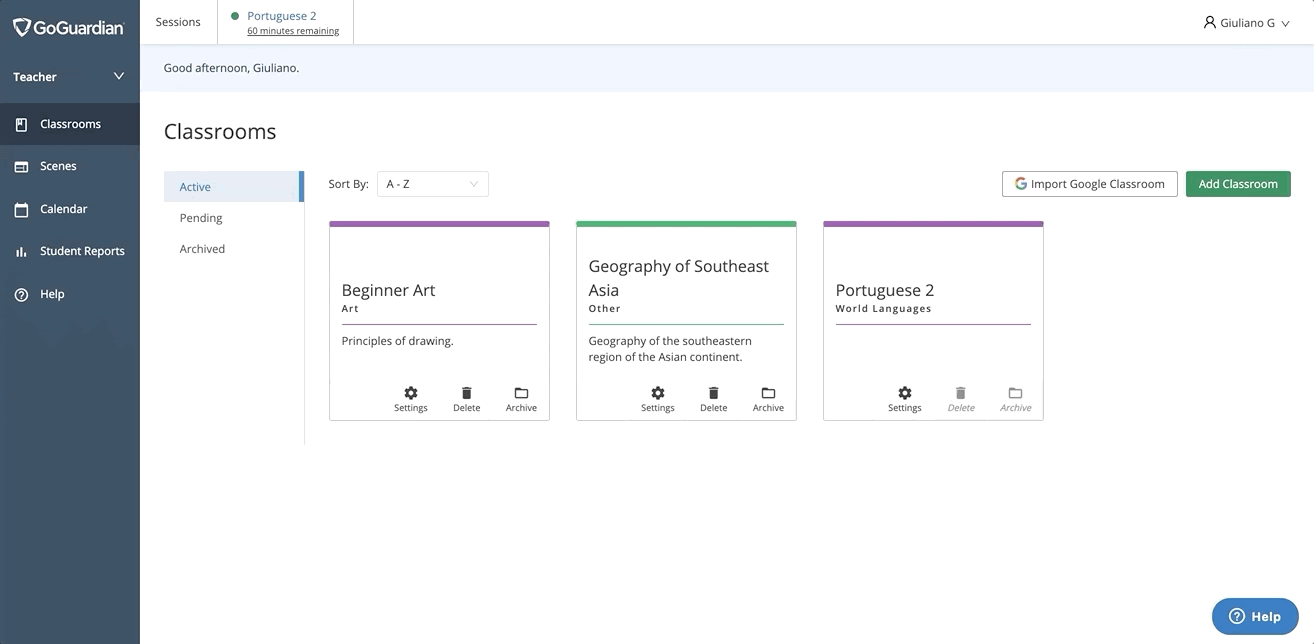
To create a new classroom via GoGuardian:
- Click on the Add Classroom button
- Enter a Name for your classroom (required)
- Select a Subject from the drop-down menu (required)
- Add a Description (optional)
- Choose a color for the classroom (blue by default)
- Click the Add Classroom button
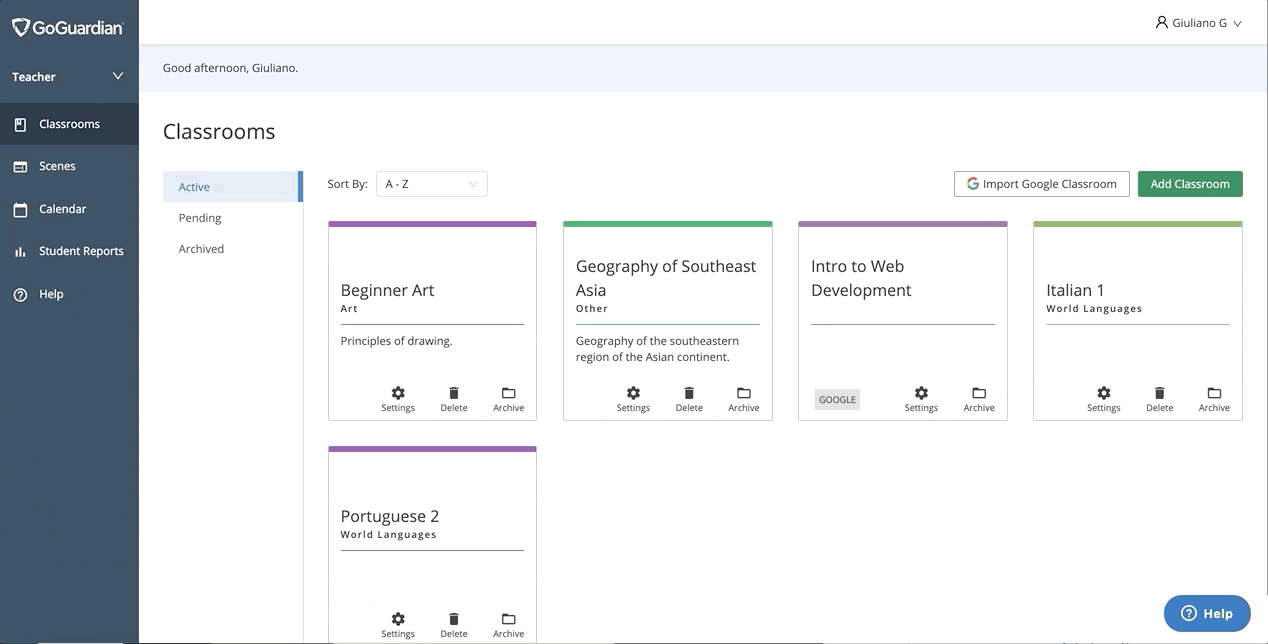
Enrolling Students
Once you have created a classroom, you can add students at any time. If you imported your classroom from Google, or synced your classroom from Clever or ClassLink, skip ahead to the bottom of this article.
About Classrooms
- Classroom sessions will not start until there is at least one student enrolled in the classroom.
- Students added during active classroom sessions will not appear until the following session.
- Classrooms are limited to 115 students.
Enroll Students
To enroll students, select the classroom you want to add them to from the main page of your dashboard, then click on the "Students" tab. On the "Students" tab, click the Add Students button. You will be given the three options for how to enroll students. For manual classrooms, we suggest the “Enroll by Code”.
Enroll By Code
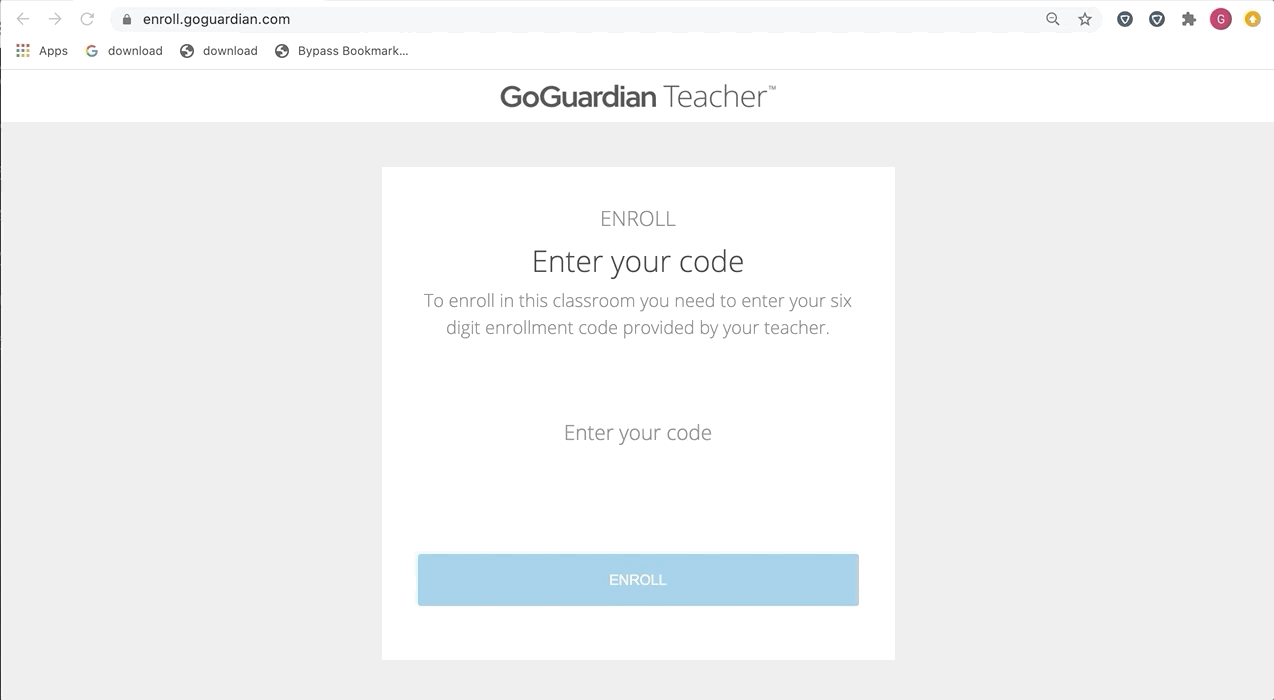
Using the enroll code option, you can quickly add students who are signed in and currently in your classroom.
- In the Students section, click the Add Students button
- Click the Use code option
- You will be given a six-digit alphanumeric code that is unique to your classroom.
- Then, have your students visit enroll.goguardian.com and enter the classroom code.
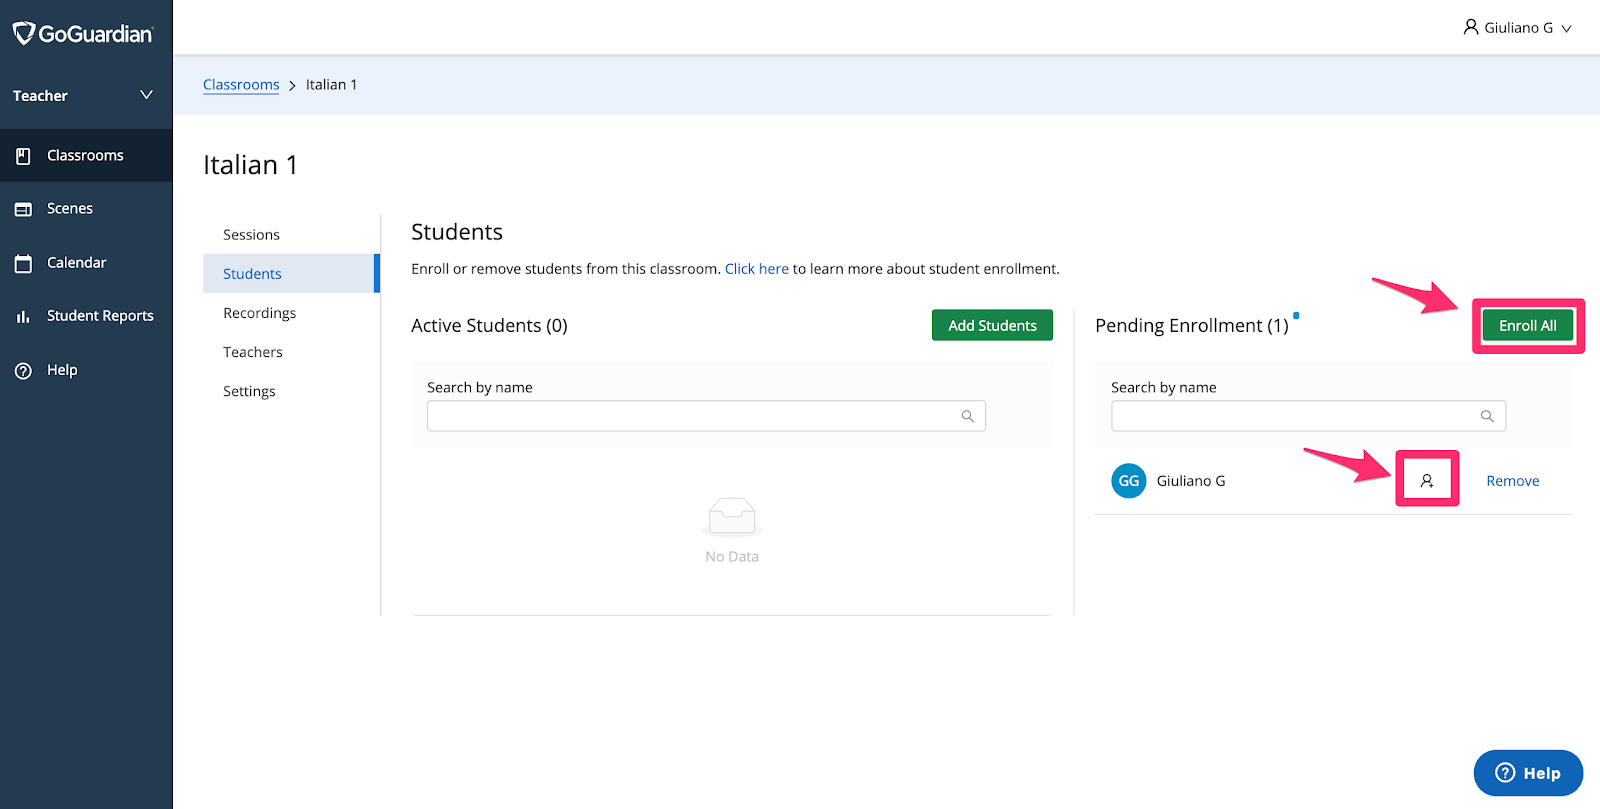
- Once your students have entered the code, navigate back to the Students section of your classroom. You may need to refresh the page.
- Under Pending Enrollment, approve the new students by clicking the Enroll All button or approve each student individually.
The enroll code for each class can be accessed at any time by clicking the Add Students button, then selecting the Use code option.